Installing a Level 2 EV charger at home is one of the smartest things you can do if you drive electric. It’s fast—up to 8 times quicker than a standard Level 1 outlet—and convenient. But here’s something most EV drivers don’t think about until it’s a hassle: charging cable management.
Without a plan, charging cables can become a tangled mess, a tripping hazard, or worse—damaged by wear and weather. Whether you're charging inside a garage or setting up your station outdoors, managing your cables the right way can save time, space, and future repair costs.
Let’s go over how to get it right from the start.
1. Where Should You Mount Your EV Charger?
Mounting your EV charger in the right place isn’t just about convenience—it impacts how safely, efficiently, and comfortably you can charge your vehicle every day. It also affects how well your charger and cables will hold up over time.
Here’s how to make the best choice for your setup:
✅ Start with Your Parking Setup
First, think about how and where you typically park your car:
- Do you park in a garage, a carport, or a driveway?
- Do you back in or pull in front-first?
- Is your car usually parked in the same spot, or does it vary?
You’ll want to mount the charger where it can serve your car without creating a tangled mess of cords or requiring constant adjustments.
✅ Check Your Vehicle’s Charging Port Location
This is one of the most overlooked steps. Different EV models have charging ports in different locations:
- Some are in the front (like the Nissan Leaf)
- Some on the driver's side or passenger's side (like the Tesla Model 3 or Chevy Bolt)
- Some in the rear or near the taillight
Once you know where your port is, stand next to your car and visualize where a wall-mounted charger would make the most sense. Ideally, the charging cable should reach the port without crossing the walking path, stretching across the garage, or requiring awkward angles.
✅ Wall-Mounting Options
Most Level 2 home chargers, including the MACH 2, are designed to be wall-mounted—this is usually the safest and most space-efficient option. You have two main locations to choose from:
Garage Wall
- Pros: Protected from weather, cleaner install, closer to indoor power supply
- Best for: Homes with attached garages and indoor parking
Exterior Wall or Post
- Pros: Great for outdoor driveways, can be weatherproofed, doesn’t take up garage space
- Best for: Homes with outdoor parking or no garage
If you choose to mount outdoors, make sure your charger is NEMA 4-rated or higher, which means it’s resistant to rain, dust, and extreme temps. The MACH 2 is well-suited for outdoor use with a rugged, weather-resistant enclosure.
✅ Consider the Cord Length (and Safety)
Cord length is another key factor. Most Level 2 chargers come with cords ranging from 18 to 25 feet, which is usually enough for a standard garage or driveway setup.
Tips:
- Keep the cord path short and direct: Avoid routing it across walkways, where it could become a tripping hazard.
- Don’t stretch the cord: Always leave a little slack—this reduces strain on the charger plug and your EV’s port.
- Avoid letting the cable drag on the ground, especially in garages where it can get caught under tires or tools.
If you need extra reach, consider a model that offers a longer cord option, or install the charger in a spot where the vehicle can park closer to the power source.
✅ Mount at a Comfortable Height
Mounting height is often overlooked, but it makes a big difference. Most manufacturers recommend placing the charger at about 42 to 48 inches (3.5 to 4 feet) from the ground, measured from the bottom of the unit.
This height:
- Makes it easy to reach and plug in without bending over
- Keeps the unit above snow, standing water, or other debris
- Works well for both wall and post-mounted setups
You’ll also want to ensure that your cable hangs neatly—this is where a cable holder, retractor, or ceiling hook can come in handy for keeping your charging space clean.
✅ Electrical Access
Before finalizing the location, double-check that a 240V outlet is available nearby, or that one can be safely installed.
- If your home doesn’t already have a 240V outlet where you want to mount the charger, a licensed electrician will need to run the wiring and add a dedicated circuit.
- If you're using a hardwired charger like some MACH 2 configurations, the installation will be more permanent and may require extra panel space.
Check with your local codes or an electrician to confirm whether permits are needed. You can also refer to the U.S. Department of Energy’s Home Charging Installation Guide for more planning help.
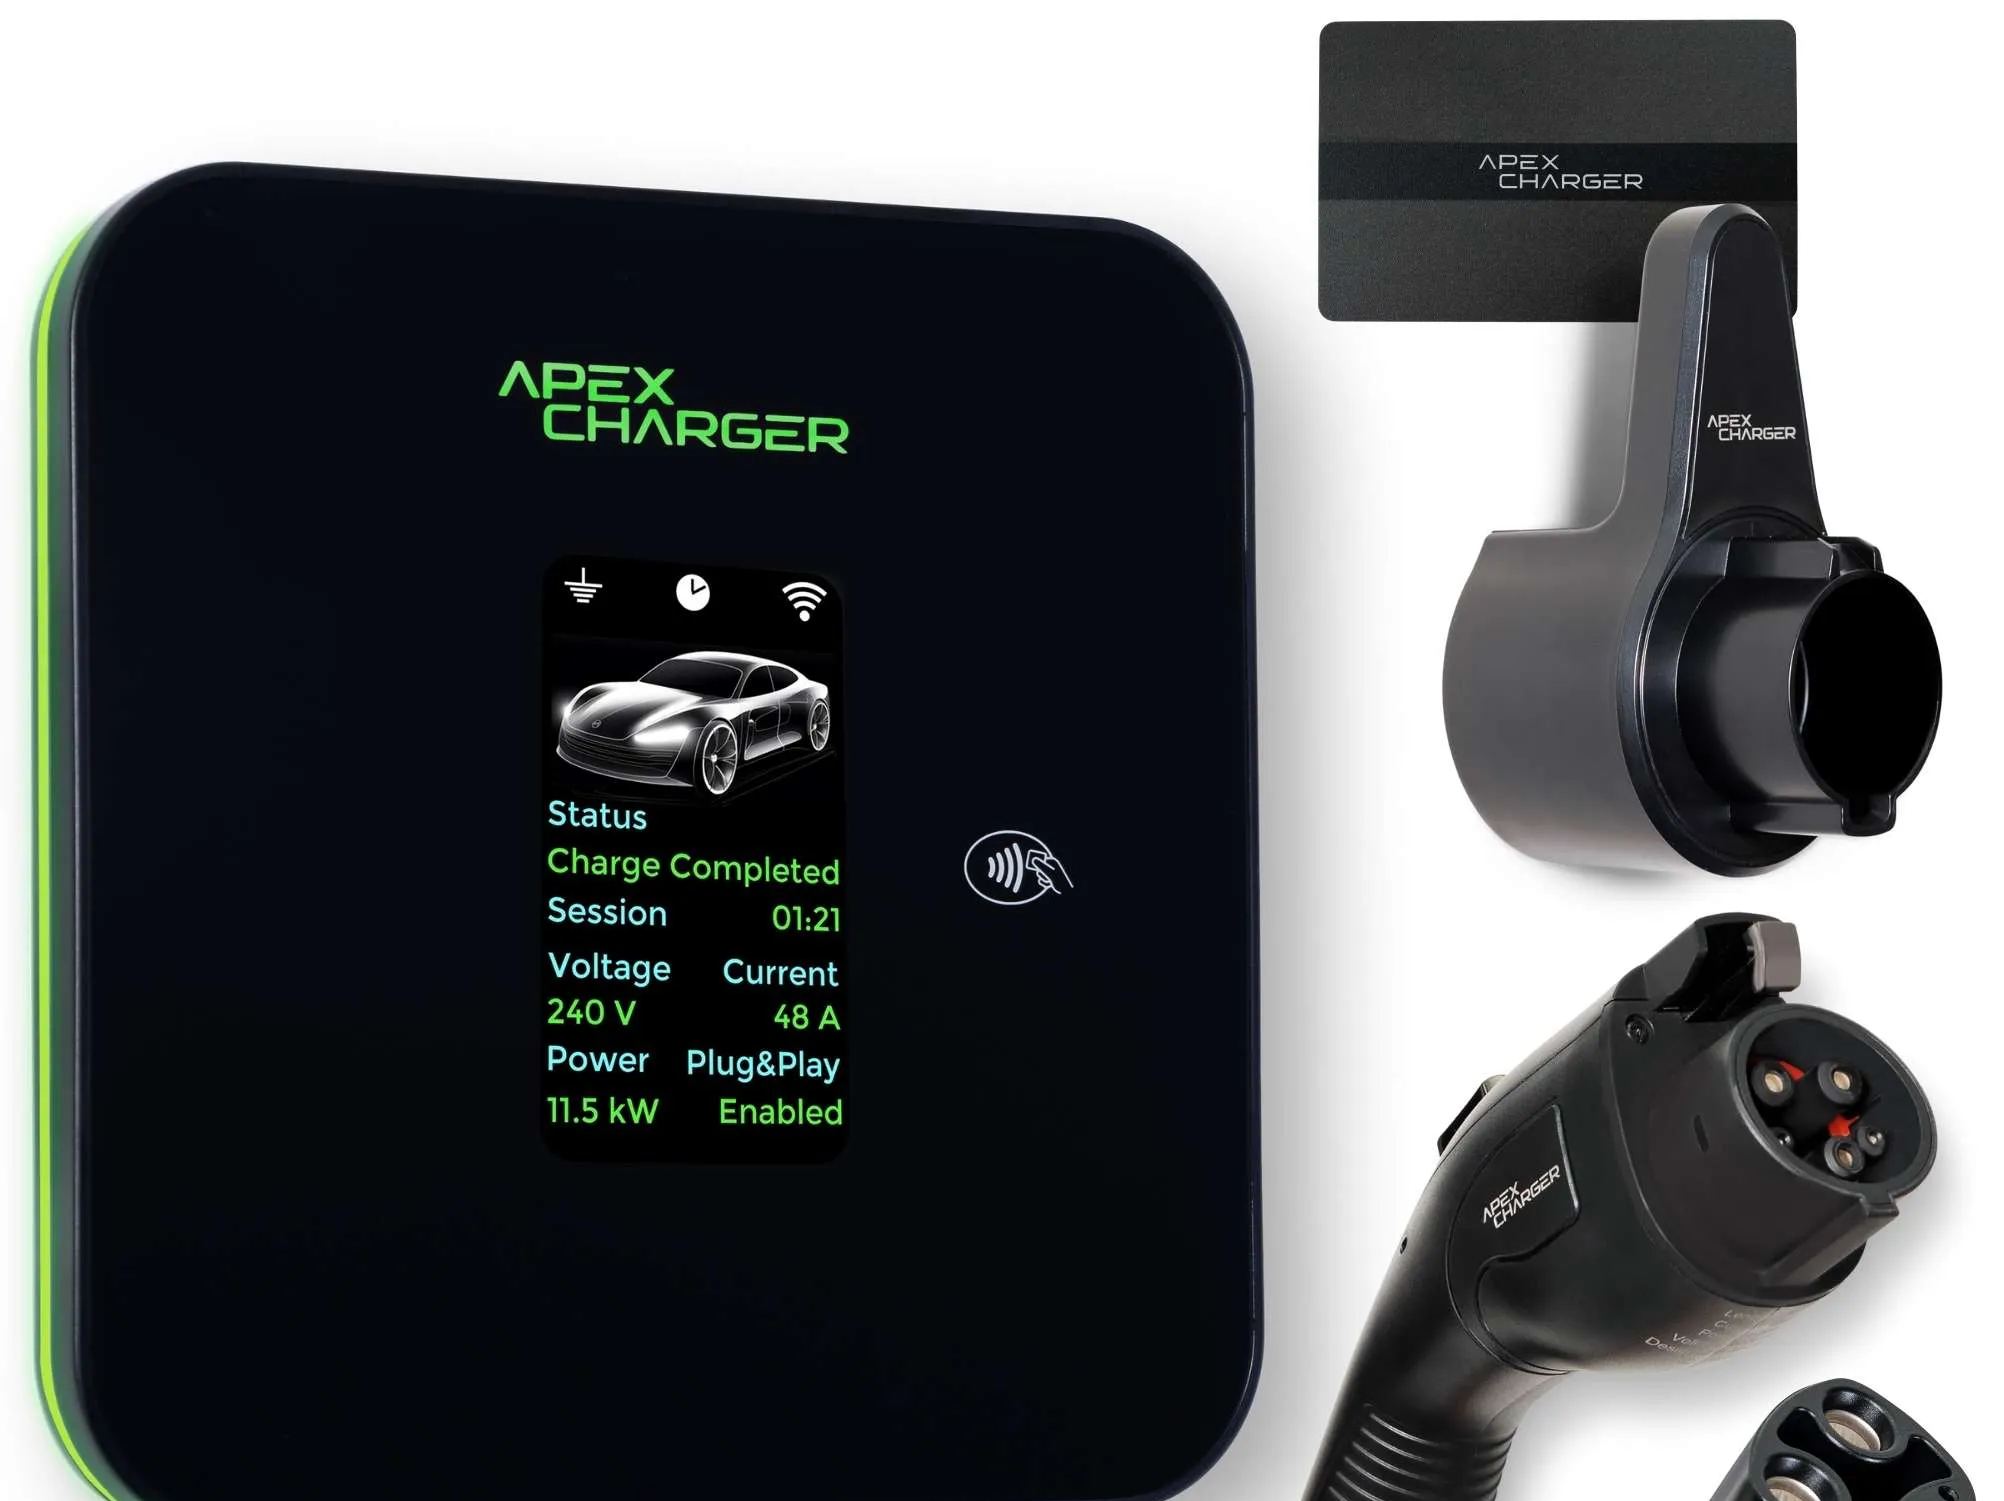
Mach 2 48 Amp Smart Charger
The Mach 2 level 2 EV charger rates extremely well in almost all quality standards that define an excellent level 2 EV charger. Whether it’s cost and value, power and weatherproof, construction and durability, or simply just the smart features it offers.
2. How Do You Keep EV Charging Cables Off the Ground?
Keeping your charging cable off the ground isn't just about keeping things tidy. It’s a smart move for safety, durability, and convenience—especially with a high-performance setup like the MACH 2 Level 2 EV Charger (48 Amps), which uses a heavier-duty cable than standard Level 1 options.
⚠️ Why It Matters
When charging cables are left lying on the floor, several things can go wrong:
- Tripping Hazard: Loose cables can be a danger to kids, pets, or anyone walking by.
- Premature Wear: Dirt, moisture, and repeated foot or tire contact will break down the outer insulation over time.
- Tangles & Kinks: A messy cable is more likely to get twisted or coiled improperly, reducing performance and lifespan.
- Weather Exposure (Outdoor Installs): Cables on the ground are more likely to freeze in winter or crack under direct sunlight.
That’s why cable management is a key part of any home EV charger setup.
✅ Cable Management Options (With Pros & Tips)
Let’s explore your best choices—from budget-friendly fixes to long-term solutions.
✅ Wall-Mounted Cable Hooks & Holders
🛠️ Best for: Garages, carports, or driveways with easy wall access
💲 Cost: Low ($10–$30)
How it works:
Simple wall hooks or brackets hold your coiled charging cable when not in use. Some kits come with extra clips that let you route the cable neatly along the wall or around corners.
Benefits:
- Easy to install—just screw into drywall, wood, or studs
- Prevents tangles and keeps cords safely off the ground
- Budget-friendly
Pro Tip:
Choose holders made of UV-resistant plastic or powder-coated steel if you’re installing them outside.
🧰 Want to DIY? The U.S. Department of Energy's Home EVSE Guide suggests placing cable holders close to the charger and near the car’s charge port to reduce cord travel.
✅ Ceiling-Mounted Cable Management Systems
🛠️ Best for: Larger garages, two-car setups, or shared driveways
💲 Cost: Medium ($30–$100)
ChargeFlex Universal EV Overhead Retractable Cable Organizer Management System for Tesla and Other EVs
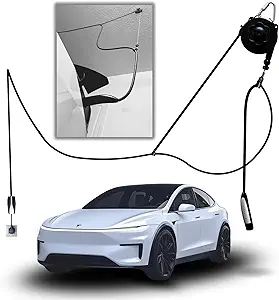
How it works:
With this system, the charging cable runs from the charger up to the ceiling and then drops down when needed—like an overhead extension cord. Great for keeping your floor clear.
Benefits:
- Keeps cables completely off the floor
- Works well in tight or shared spaces
- Helps reduce clutter in multi-car garages
Setup Tips:
- Mount the system to a ceiling beam or joist for stability
- Plan the drop location based on where your EV’s charge port sits
If you’re using a longer cable (25 feet or more), ceiling systems are especially helpful to keep it from dragging.
✅ Spring-Loaded Cable Retractors
🛠️ Best for: High-use home chargers and outdoor setups
💲 Cost: Medium to High ($40–$200 depending on features)
Evosling EV Charger Cable Retractor & Organizer
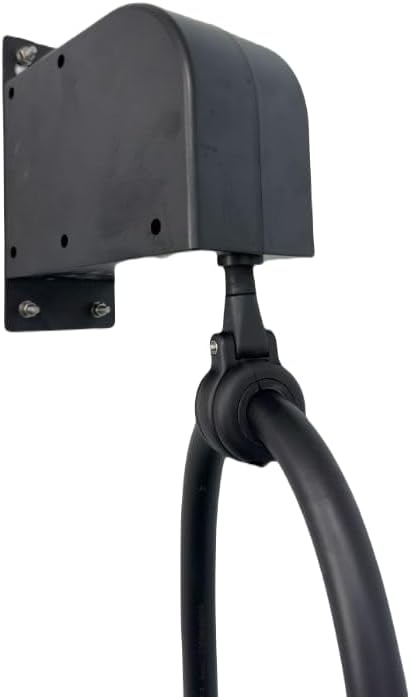
How it works:
Think of this like a vacuum hose retractor. It automatically pulls the charging cable back in when you’re done. Some models mount to the wall, others to the ceiling.
Benefits:
- Keeps your charging area ultra-clean and organized
- Reduces wear on the cable by limiting contact with the ground
- Adds a “professional” feel to your home setup
DIY-Friendly Options:
There are no-wiring-needed models that come with everything you need to mount. Just bolt it in, thread your cable through the pulley, and you’re set.
Weather-Resistant Versions are great for outdoor installations—just make sure to choose a NEMA-rated product or one designed for wet locations.
Bonus: Combine Solutions for a Custom Setup
Depending on your space, you might mix and match. For example:
- Use wall clips to route the cable neatly along the garage wall
- Add a spring-loaded retractor near the car’s charge port to pull slack out of the way
- Install a ceiling drop if you regularly switch parking spots between multiple EVs
Mach 2 48 Amp Smart Charger
The Mach 2 level 2 EV charger rates extremely well in almost all quality standards that define an excellent level 2 EV charger. Whether it’s cost and value, power and weatherproof, construction and durability, or simply just the smart features it offers.
3. Can EV Chargers Be Installed Outdoors?
Absolutely. You don’t need a garage to own an electric vehicle. Installing your EV charger outdoors is not only doable—it’s common. Many Level 2 chargers, including the MACH 2 Level 2 EV Charger (48 Amps), are designed with outdoor durability in mind. But a good setup depends on smart planning and weatherproof gear.
Let’s walk through what you need to know.
✅ What Makes a Charger Safe for Outdoor Use?
Not all EV chargers are created equal—some are garage-only, while others are built to survive wind, rain, and snow.
Here are the key features to look for:
✅ NEMA-Rated Weather Protection (Aim for NEMA 4)
Look for a charger with a NEMA 4 or NEMA 4X rating. This is a standard developed by the National Electrical Manufacturers Association (NEMA) that defines how well an electrical enclosure resists weather.
- NEMA 4 protects against rain, snow, windblown dust, and even hose-directed water
- NEMA 4X adds corrosion resistance—useful if you’re near the coast
The MACH 2 comes with a rugged, weather-sealed enclosure that’s NEMA-rated—ready for almost any climate.
✅ 240V Power Supply (Hardwired or Plug-In)
Outdoor EV charging still requires the same electrical power as indoor setups. That means you’ll need a 240-volt outlet—either:
- Hardwired directly into your home’s electrical system by a licensed electrician
- Or installed as a NEMA 14-50 plug (similar to what RVs and dryers use)
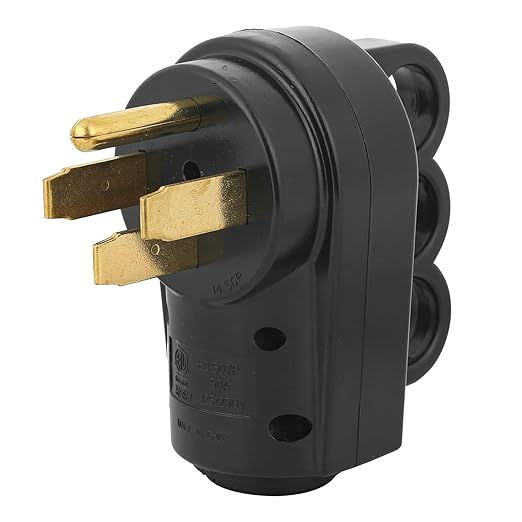
SVNR RV Replacement NEMA 14-50P 50 AMP Male Power Plug
📌 Not sure which to choose? Plug-in models give more flexibility, while hardwired chargers are more weather-resistant since there’s no exposed plug.
Either way, it’s important to hire a licensed electrician for installation. Improper wiring can lead to fire hazards, shorts, or void your warranty.
Check out the National Electric Code (NEC) Article 625 for official requirements on EV charger installation.
✅ Shelter or Partial Cover Helps
Even though your charger may be rated for the elements, it’s still smart to install it in a semi-sheltered location if possible. A few good options:
- Under a carport or awning
- Along an exterior wall protected by your home’s roof overhang
- Beside a shed or structure that blocks wind and direct rain
This helps your charger last longer by reducing exposure to UV, snow buildup, and extreme temps.
✅ Avoid Low-Lying Areas or Flood Zones
Never install your EV charger in a spot that collects standing water or is prone to flooding.
Even if the charger is waterproof, the cable connection to your vehicle is not 100% sealed underwater. Plus, water pooling around a 240V outlet is just asking for trouble.
Make sure the charger is mounted off the ground—ideally 24 inches or more—and routed to drainage-friendly surfaces like concrete or gravel.
🔧 Cable Management Matters Outdoors, Too
Cables left in the dirt or snow won’t last long. Use:
- Wall clips to secure the charging cable neatly along the wall
- Retractable cable reels to keep cords off the ground when not in use
- Or run a ceiling-mounted drop cable setup if under a covered carport
This keeps your gear safer and extends the life of your equipment.
Mach 2 48 Amp Smart Charger
The Mach 2 level 2 EV charger rates extremely well in almost all quality standards that define an excellent level 2 EV charger. Whether it’s cost and value, power and weatherproof, construction and durability, or simply just the smart features it offers.
4. How to Protect Charging Cables Long-Term
Your EV charging cable is one of the most important—and expensive—components of your home charging setup. It’s also one of the easiest parts to damage if you’re not careful.
Whether you’re using a compact setup or a high-performance unit like the MACH 2 Level 2 EV Charger (48 Amps), the cable is your lifeline. Replacing it isn’t cheap, and it’s usually not covered under standard warranties if it wears out due to mishandling.
Here’s how to keep your charging cable in great condition for years to come.
✅ Use Wall-Mounted Organizers or Hose-Style Reels
Leaving your cable coiled on the ground or tossed in a pile invites wear, dirt buildup, and tripping hazards. The first—and most important—thing you can do is get it off the floor.
Your options:
- Wall-mounted hooks or holsters: Simple and affordable, these keep your cable coiled neatly when not in use. Look for versions with a built-in plug holder to keep the connector off the floor too.
- Retractable cable reels: These let the cable extend during use and and automatically retract when you're done—no tangles, no dragging.
- Ceiling-mounted drop systems: Best for covered parking areas or garages. These systems suspend your cable overhead and drop it down only when needed.
✅ Avoid Sharp Bends, Kinks, or Tight Wraps
Think of your EV charging cable like a garden hose or extension cord—it doesn’t like sharp corners. Bending or crimping it repeatedly, especially near the connector, can cause the internal wires to weaken or split over time.
Best practices:
- Coil your cable in large, loose loops (not tight spirals)
- Don’t wrap it tightly around small wall pegs
- Never force it to bend sharply around corners or obstacles
According to the U.S. Department of Energy, cable strain is one of the most common maintenance issues for home charging setups—especially in colder climates where cables become stiff.
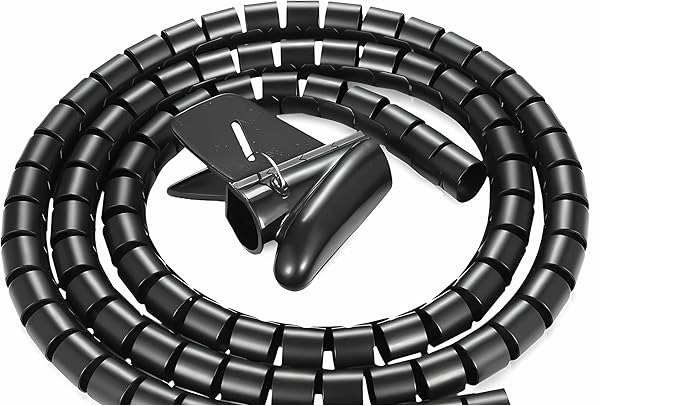
✅ Protect Outdoor Cords with Sleeves or Conduit
If your charging station is installed outdoors—or your cable frequently touches pavement, rocks, or metal corners—it needs a little extra armor.
Ways to shield your cable:
- Protective sleeves or sheaths: Made from weather-resistant rubber or vinyl, these slide over the cord to protect against UV rays, foot traffic, and abrasions.
- Plastic cable routing kits or conduit: These are especially useful if your cable needs to be routed along a wall or post. They provide a dedicated channel that prevents pinching or rubbing against rough surfaces.
- Elevated clips or tracks: Keeps the cable off the ground and avoids contact with puddles, salt, snow, or oil spots.
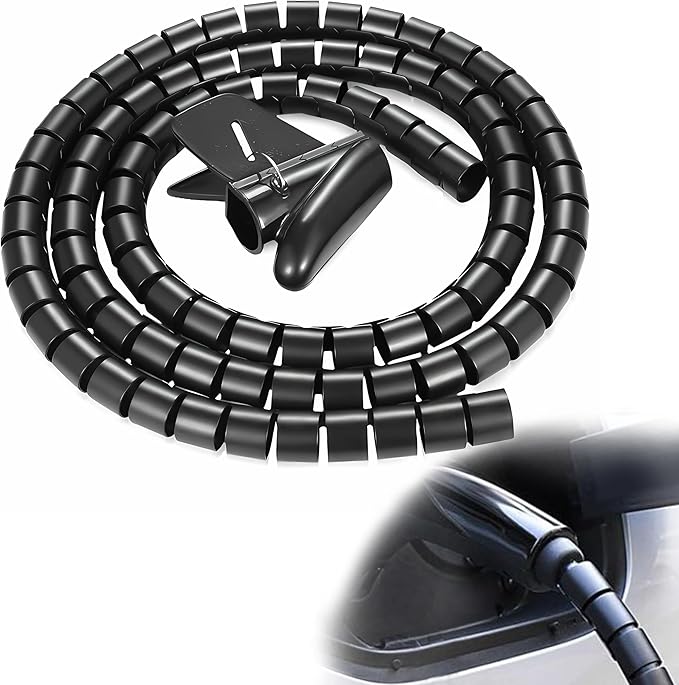
Generic EV Charger Cable Protector, 23FT Electric Car Charger Cable Sleeve
📌 Bonus: The MACH 2 Level 2 EV Charger is weather-resistant, but even outdoor-rated chargers benefit from clean, protected cable routing.
✅ Avoid High Heat and Direct Sunlight
Even though most EV charging cables are designed for all-weather use, long-term UV exposure and extreme heat can break down the rubber jacket over time. This is especially true in hot or sunny climates.
Recommendations:
- Install your charger in a shaded area, like under a carport, awning, or roof overhang.
- If shade isn’t possible, consider adding a sun shield or protective enclosure.
- In high-temperature zones, avoid using the charger in the peak heat of the day if possible—cables tend to soften, swell, or become more brittle over time.
According to UL Solutions, prolonged sunlight can reduce a cable’s flexibility and lifespan, especially in outdoor setups with little airflow.
✅ Keep Cables Out of High-Traffic Zones
Don’t run your charging cable across walkways or driveways. It’s not just a tripping hazard—it's also a good way to shorten its life.
Foot traffic and rolling tires can cause:
- Outer jacket abrasions
- Internal wire fatigue
- Damage at the plug or connection point
Instead, route your cable along walls, under low-traffic eaves, or suspend it from above when charging in busy areas.
Bonus: Cable Care During Cold Weather
In freezing temperatures, charging cables become stiffer and more brittle. Don’t force them into tight loops or bend them sharply when it's cold.
- Use retractors or cable warmers if available
- Store cable indoors or in a dry enclosure when not in use
- Let the cable “loosen up” a bit before coiling in winter
Proper handling during winter months can make the difference between a 3-year cable and a 10-year cable.
Mach 2 48 Amp Smart Charger
The Mach 2 level 2 EV charger rates extremely well in almost all quality standards that define an excellent level 2 EV charger. Whether it’s cost and value, power and weatherproof, construction and durability, or simply just the smart features it offers.
5. Should You Get a Cable Management Kit?
Short answer: Yes—if you value safety, convenience, and keeping your setup looking sharp.
EV charging cables are long, heavy-duty, and not always easy to coil neatly after each use. Without a dedicated solution, your charging cord is more likely to end up dragging on the ground, getting stepped on, or tangled in garage clutter. That’s not just annoying—it shortens the life of the cable and creates tripping hazards.
That’s where a cable management kit comes in.
What’s in a Cable Management Kit?
Most EV cable management kits come with a simple but effective set of tools to organize and protect your charging cable. While the exact components vary by brand, most include:
- Wall clips or cable guides – Attach to your wall and help route the cable along a fixed path.
- Mounting brackets or cable holsters – Let you hang the connector and loop extra cable when not in use.
- Ceiling hooks or runners (optional) – Great for suspending the cord in garages or under carports.
- All necessary hardware – Screws, anchors, and adhesive strips for easy, secure installation.
- Step-by-step instructions – Usually DIY-friendly, even for beginners.
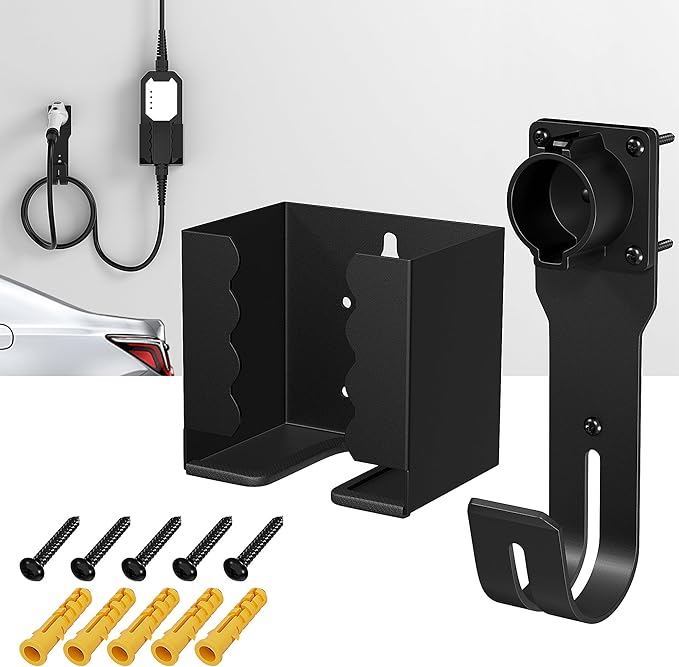
Joinfworld EV Charger Holder Wall Mount Kit
Why Cable Management Kits Are Worth It
These kits might seem simple, but the benefits go way beyond aesthetics.
1. Safety First
Loose cables are a common tripping hazard—especially in garages shared with family members, kids, or pets. A cable that’s constantly walked on is also more likely to suffer from internal damage, fraying, or exposed wiring over time.
2. Longer Cable Life
Keeping the cable suspended or routed cleanly along walls helps reduce friction, kinking, and exposure to damaging elements like dirt, oil, and road salt. This is even more important in outdoor setups or in climates with harsh winters.
3. A Cleaner, More Organized Setup
Instead of a tangled mess, your EV charger area can look like a clean, professional installation. This matters if you're parking in a shared driveway or even just want your garage to stay tidy.
4. Better Charging Experience
Pairing a high-powered charger like the MACH 2 (48 Amps) with a proper management kit helps you avoid unnecessary wear and ensures maximum charging efficiency. You're not wasting time untangling cords—you plug in and go.
Easy to Install (Even for Beginners)
Most cable management kits are DIY-friendly and can be installed in under an hour. With just a basic drill and screwdriver, you can:
- Mount clips along a garage wall
- Route the cable around door frames or beams
- Install hooks or retractors in your ceiling
- Hang your charging connector safely when not in use
And because the components are modular, you can customize the layout to fit your space—whether your charger is in a small garage, driveway, or side yard.
For general guidance, you can refer to the U.S. Department of Energy’s EVSE Installation Guide (PDF) for safety best practices and layout tips.
Best Practices When Pairing With a Powerful Charger
If you're using a 48-amp charger like the MACH 2, cable management becomes even more important:
- Cables are thicker and stiffer, especially in cold climates
- The plug head is heavier, making secure holsters a must
- A clean layout helps you charge quickly and unplug safely, without straining the port
The MACH 2 is designed for long-term, high-performance use. A well-thought-out cable management setup ensures it stays that way.
Final Takeaway
If you’re setting up your EV charger at home—especially a high-powered unit like the MACH 2 Level 2 (48 Amps)—a cable management kit isn’t optional. It’s an affordable, effective way to:
- Protect your investment
- Improve safety
- Extend the lifespan of your charging cable
- Keep your space organized and professional-looking
Bottom line: A little structure goes a long way. Don’t leave your cable hanging (literally).